How to use a portable metal roofing machine
 Nov 18, 2023|
 View:398
Metal roofing has become increasingly popular due to its durability, longevity, and aesthetic appeal. To meet the growing demand, portable metal roofing machines have emerged as a convenient tool for on-site fabrication and installation. Whether you're a seasoned professional or a DIY enthusiast, understanding how to use a portable metal roofing machine is essential for achieving high-quality results. In this article, we will guide you through the process step-by-step.
Step 1: Equipment and Safety Precautions
Before operating a portable metal roofing machine, gather all the necessary equipment, including safety gear such as gloves, goggles, and ear protection. Ensure that the machine is in good working condition, and read the manufacturer's instructions to familiarize yourself with its specific features and safety guidelines.
Step 2: Material Preparation
Next, prepare the metal sheets that will be used for roofing. Measure and cut them to the desired length and shape using appropriate tools such as snips or shears. Make sure the metal sheets are clean and free from any debris or sharp edges.
Step 3: Machine Setup
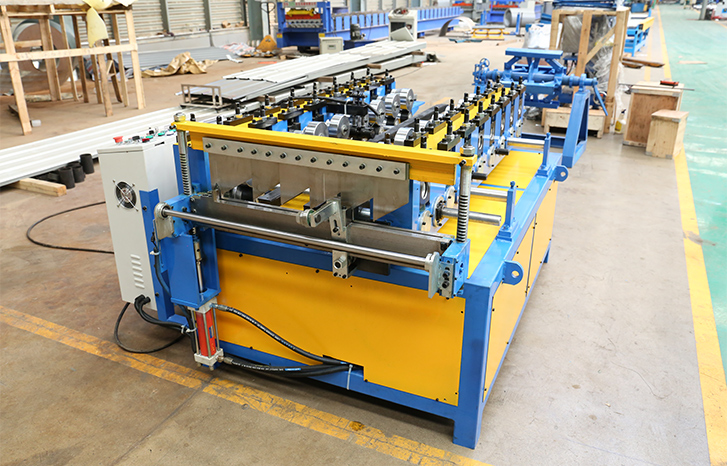
Set up the portable metal roofing machine on a stable and level surface. Adjust the machine's settings according to the required panel width, thickness, and profile. Refer to the machine's manual for specific instructions on adjusting these settings.

Step 4: Loading the Metal Sheets
Place the prepared metal sheet onto the machine's feed table, ensuring that it is aligned correctly. Feed the sheet into the machine, making sure it is securely held by the feeding rollers. Double-check that the sheet is properly aligned with the machine's guides to ensure accurate and consistent results.
Step 5: Operation
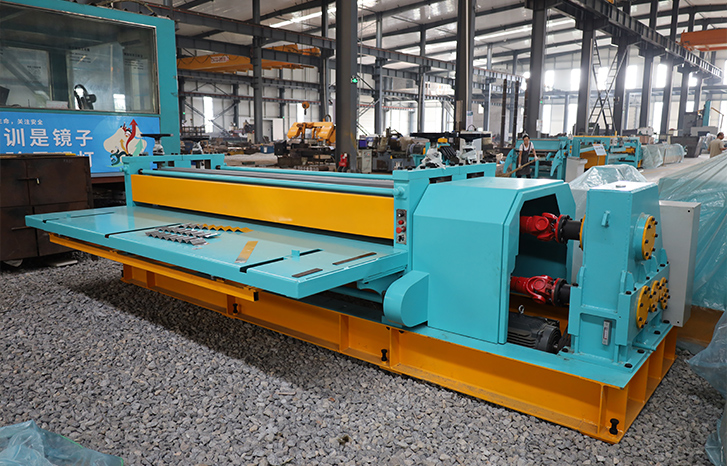
Once the metal sheet is securely in place, start the machine according to the manufacturer's instructions. The machine will automatically feed the metal sheet through the rollers, applying the necessary bends and forming the desired profile. Maintain a steady pace to ensure a smooth and even operation.

Step 6: Cutting and Finishing
If needed, the machine may have an integrated cutting mechanism to trim the metal sheet to the desired length. Alternatively, you can use separate cutting tools to trim the metal to size once it has been formed. After cutting, remove the finished sheet from the machine's output table, being cautious of any sharp edges.
Step 7: Quality Control
Inspect the finished metal sheets for any imperfections or defects. Check the dimensions, bends, and overall quality of the panels to ensure they meet your specific requirements. This step is crucial as any flaws may compromise the functionality and longevity of the roofing system.
By following these steps carefully, you can effectively utilize a portable metal roofing machine to fabricate high-quality metal panels for your roofing projects. Remember, practice makes perfect, so don't be discouraged if it takes a few attempts to achieve the desired results. With time and experience, you'll become proficient in using this valuable tool.
Mastering the art of using a portable metal roofing machine opens up a world of possibilities for efficient and precise metal roof fabrication. By following the steps outlined in this guide and adhering to safety precautions, you can confidently tackle roofing projects with ease. Remember to always consult the manufacturer's instructions for your specific machine model and seek professional guidance if needed.


 Partner
 FAQ
FAQ Contact
